


.png?w=100&itok=hKuNtBOw)


.png?w=100&itok=Md9-7E8t)


%20(2).png?w=100&itok=fEHREjki)
_ANZ-Group-shot_v2.png?w=100&itok=Z_Qi2FlQ)
_ANZ-Group-shot.png?w=100&itok=k25pq8iJ)
_ANZ-Group-shots.png?w=100&itok=v6A67Pxg)


Drill into timber, soft metal and hard materials including brick and concrete with the RYOBI 18V ONE+ Hammer Drill.
This quick project not only saves space in the laundry, it also means you won’t have to lug around heavy laundry. Follow along with the step-by-step instructions below and watch the video to create your own.
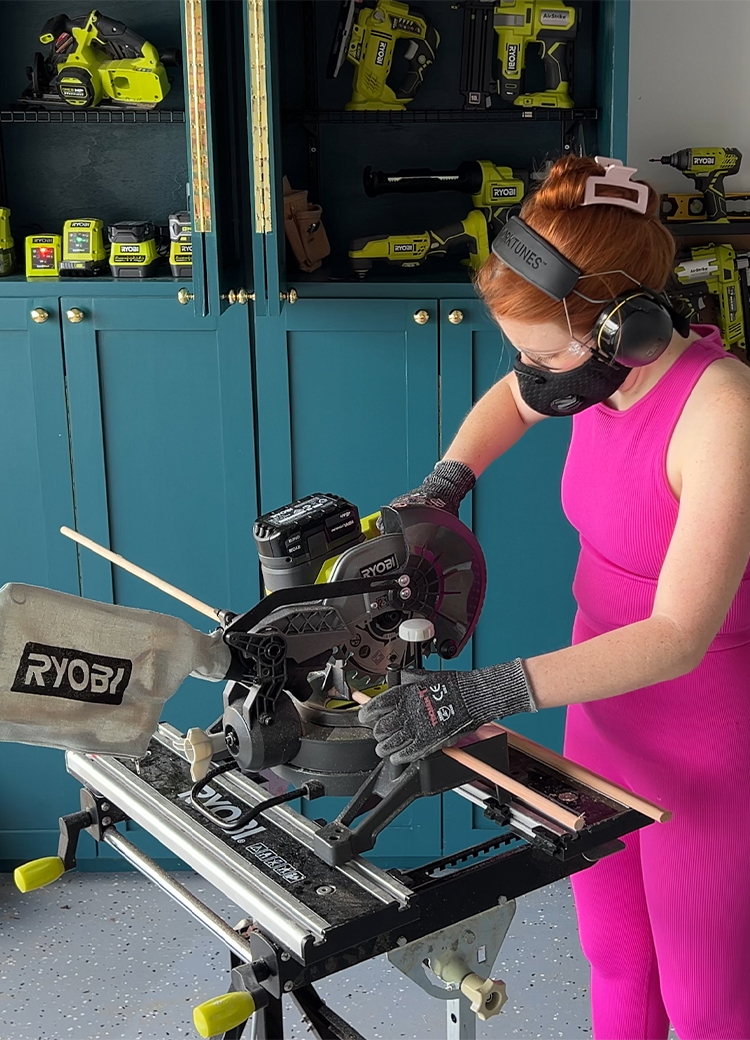
Step 1: Using a mitre saw, cut 4 pieces of 42 x 18mm primed pine DAR to the desired length that you want the trolley to collapse to.
Step 2: Using the mitre saw, cut mitres on the bottom of each piece so that they will sit parallel to the floor when the trolley is open.
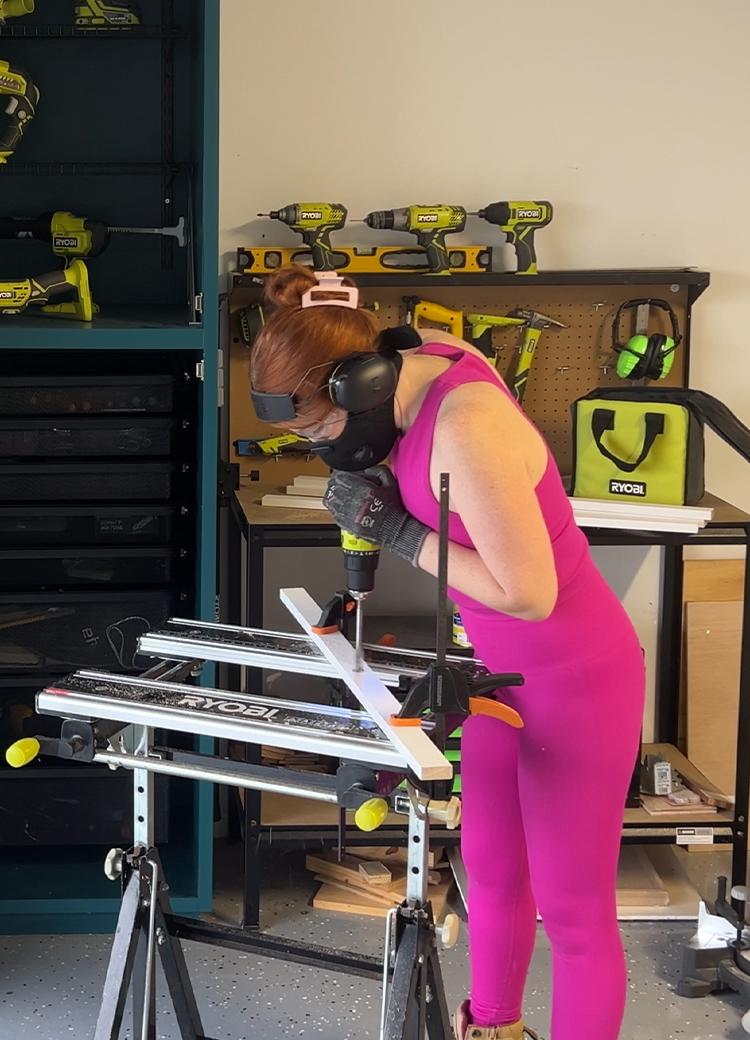
Step 3: In all pieces, using a 19mm spade bit in a hammer drill, drill holes halfway.
Step 4: Then, using the same equipment, drill holes (but only a couple mm deep - not all the way through) at the tops of the same pieces.
Step 5: Using the mitre saw, cut the 19mm dowel to the width that you would like the trolley to be (slightly narrower than your laundry basket).
Step 6: Then cut the 19mm dowel to the widths for the top pieces.
Step 7: Using glue and the 18GA brad nailer, secure the top pieces of dowel into the 4 pieces of DAR. You will have 2 ‘U’ shapes now.
Step 8: Once the glue has set, secure the two ‘U’ shapes together by pushing the other piece of dowel through the centres and then securing the outside pieces ONLY using glue and the 18G Brad nailer. Wait to set.
Step 9: Using the mitre saw, cut 2 pieces of DAR to fit towards the top of the trolley - this will be where the basket sits.
Step 10: Secure the DAR using the hammer drill and impact driver and screws.
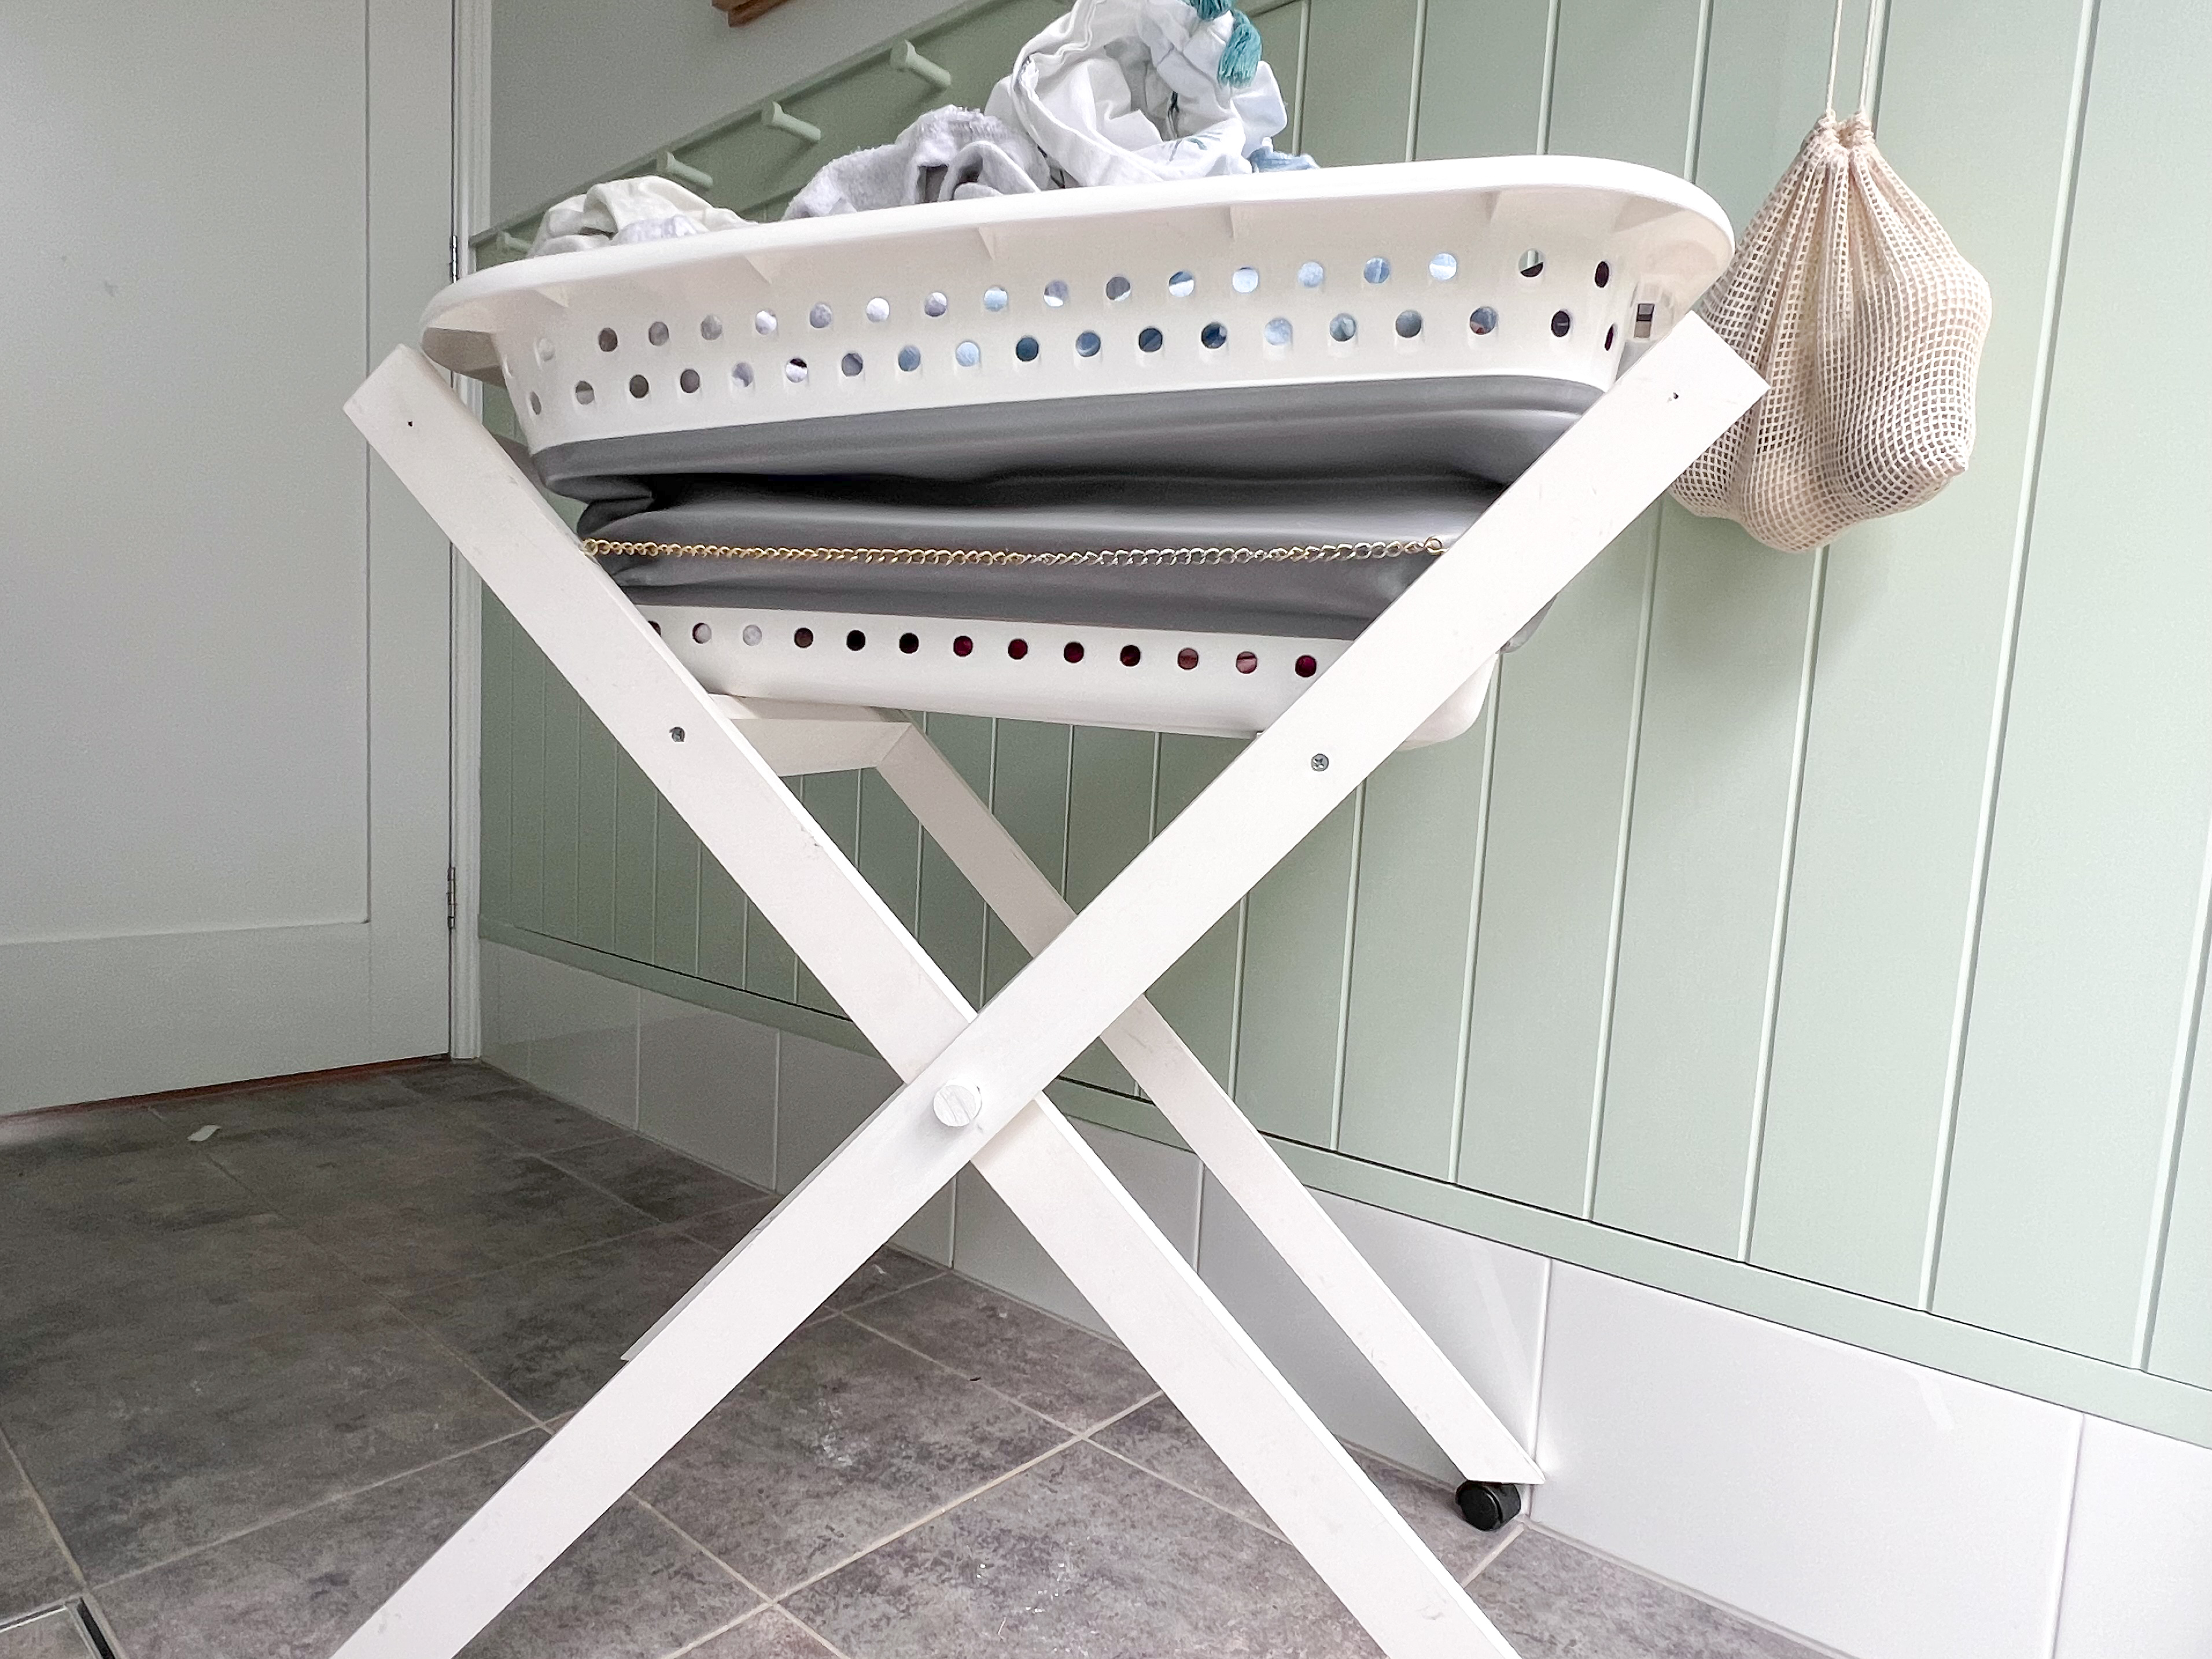
Step 11: Using the hammer drill, drill out some holes in the base of the trolley to glue in some caster wheels (don’t use wood glue for this task).
Step 12: Last step is to attach screw eye hooks and chain, that has been cut to your desired length, on both sides.
Feeling creative but lacking ideas? We’ve got you covered! Watch our videos and follow the step-by-step instructions to unleash your creativity.
.png?w=100&itok=D7d8Umfz)

.png?w=100&itok=Lj7SSICT)

.png?w=100&itok=fnsLcLhG)


.png?w=100&itok=efvsqCNL)


.png?crop=yes&k=c&w=690&h=690&itok=gfFIhyAE)
